
There comes a time in many producers’ lives when a decision is reached; it’s time to level up. While a home studio full of decent quality desktop gear, like audio interfaces and effects, is enough to learn the skills you’ll need, after a while, you’ll want to start increasing the capabilities of your recording equipment.
– Shop our standardised 19-inch studio racks
– Find out more about our custom 19-inch studio racks
Look in any top professional studio and you’ll see banks upon banks of gear housed in specialist cases, called racks. Rack-mounted gear takes those standard items you’ve become accustomed to and increases the quality, performance and creative potential massively. Where a normal desktop audio interface may feature two or four inputs, a rack-mounted version could offer 16 (or more!). The same theory applies to everything; effects processors, headphone amplifiers and monitor controllers all fit within the standardised rackmount format.


Why use racks?
Any recording studio, whether that’s a small-scale home studio or a professional-grade mega studio, is full of sweet equipment. Lots of equipment, usually. And, the higher up the chain you get, the more likely it is that the tools, gear and equipment you’ll use is designed to sit within dedicated racks.
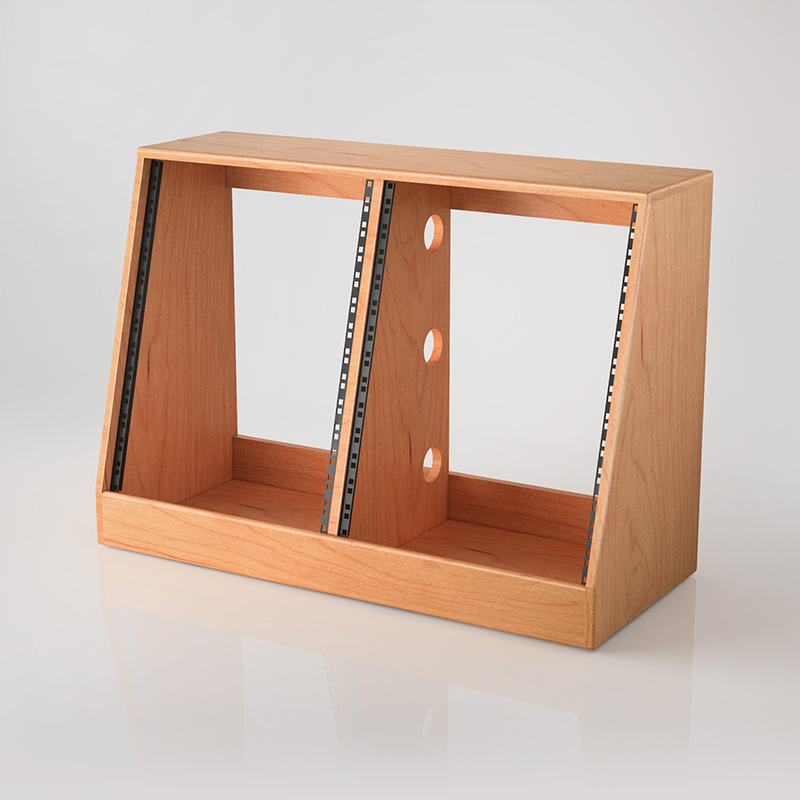
Thankfully, the sizing and dimensions of these racks are standardised at 19” wide. Manufacturers of all different kinds of studio gear essentially made use of the format created by telecommunications firms in the 1920s, repurposing old racks to fit their studio gear in.
Modern racks are built more with studio use in mind, combining pleasing visual aesthetics with studio-specific tricks to ensure they’re fit for purpose. They provide a safe, sturdy and practical space to hold multiple units, so everything you need is within arms’ reach at any given time.
Choices, choices
There are few key considerations to make when choosing the right rack unit for your studio. Key among those choices is the size of rack unit you need for your studio. If you’re just dipping your toes in the water, it probably helps to have a brief explainer of a typical startup rack unit.
While modern USB desktop audio interfaces will combine mic preamps, line inputs, headphone amplifiers and monitor outputs, after a while these can become a bottleneck in your workflow. Say, for example, you want to record multiple microphones at the same time, or send your mix to different monitors. It may even be something as simple as each performer requiring separate headphones to hear themselves during their takes.
A 19” studio setup will take each of the individual components of the all-in-one audio interface and break them down. So, in a basic 19” rack equivalent, you would probably employ separate solutions for microphone preamps, guitar/line inputs, monitoring, headphones and effects. Then, for both safety and practicality reasons, you’ll likely require a power conditioner unit to ensure each unit is getting the juice it needs to operate properly.
The good news is that, while one of the major benefits of using rack gear is the sheer variety on offer from those component parts, you can always rely on them fitting within a standard rack.
It helps – before you start splashing out on expensive rack equipment (or any recording studio furniture) – is to have a clear idea before you start how much space these units will require. Work backwards at this point, choosing your rack units and then sourcing the rack itself once you have this information. A wise studio owner would always give themselves room to grow in the future too.
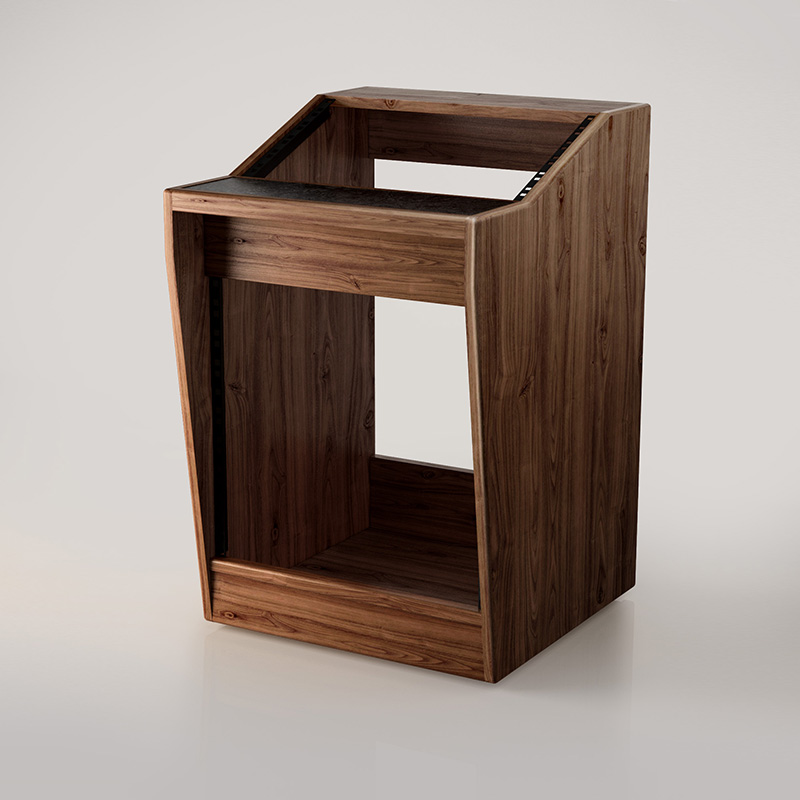
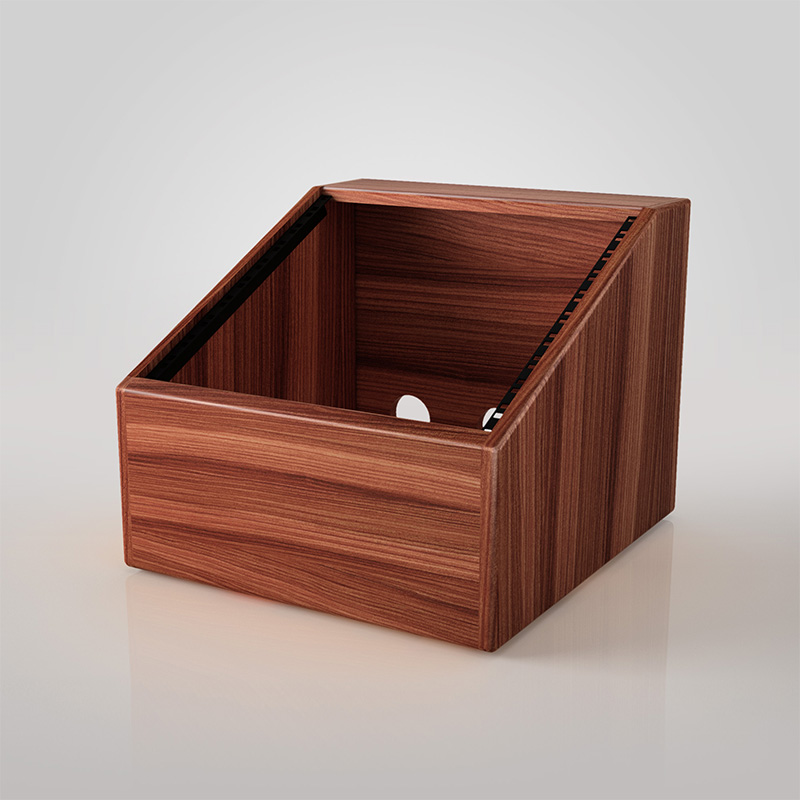
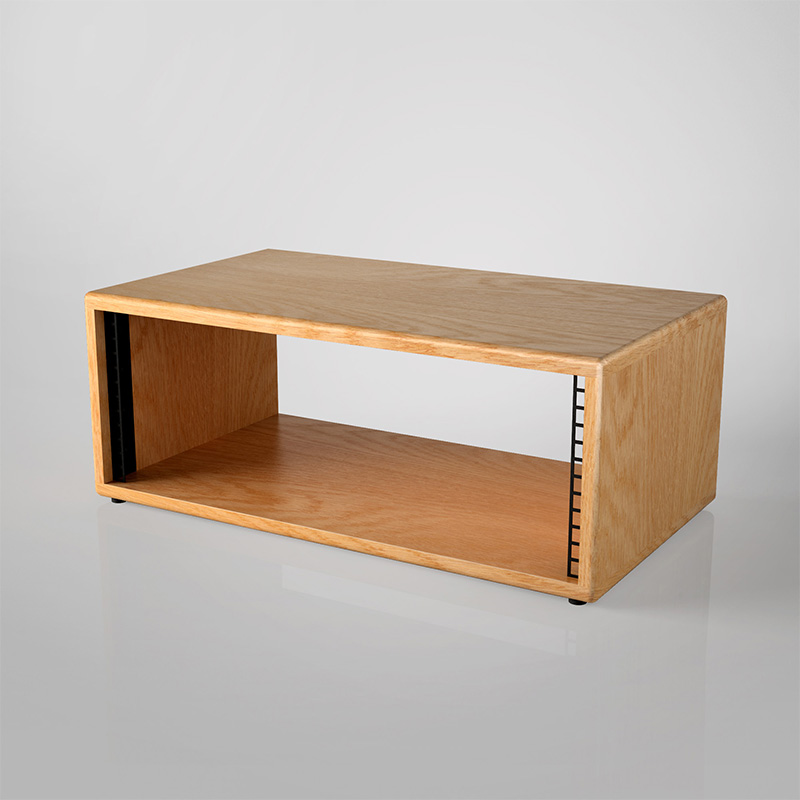
From there, you can consider options like the type of wood used to craft the rack housing, and the finish you’d like. Will the unit sit on top of your desk, like our Rack Pods, or will it be integrated into the desk itself. Maybe, for larger racks or those requiring a bit of portability, the Trolley Rack would be a better option as it can be fitted with castors to allow for movement around a studio.

Practicalities
As with any studio application, there are certain practicalities involved in using rack gear. This could be something as simple as cable management or rack location, or something requiring a bit more technical consideration. Airflow should be taken into account, as rack equipment can become hot and thus needs a place to disperse warm air. For this reason, you’ll see some racks with ventilation or ducts to allow for better cooling. You may also find noise to be an issue; the fans employed in power conditioners, in particular, can introduce noise to the studio so, if that’s going to be a problem, you might want to consider a solution which can combat this or, at the very least, be moved somewhere that it won’t cause any issues while recording.
Aesthetics
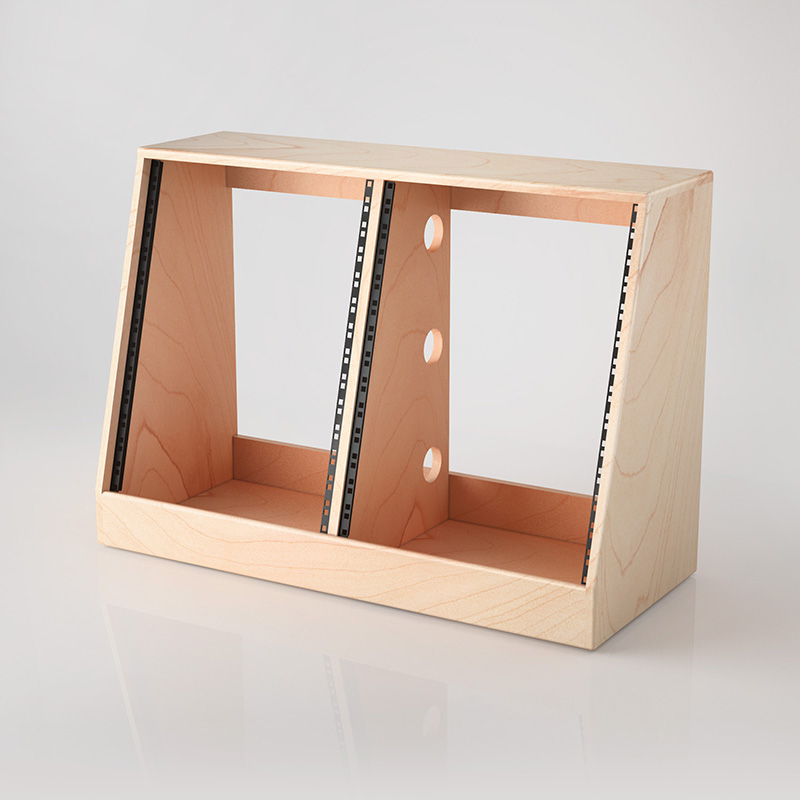
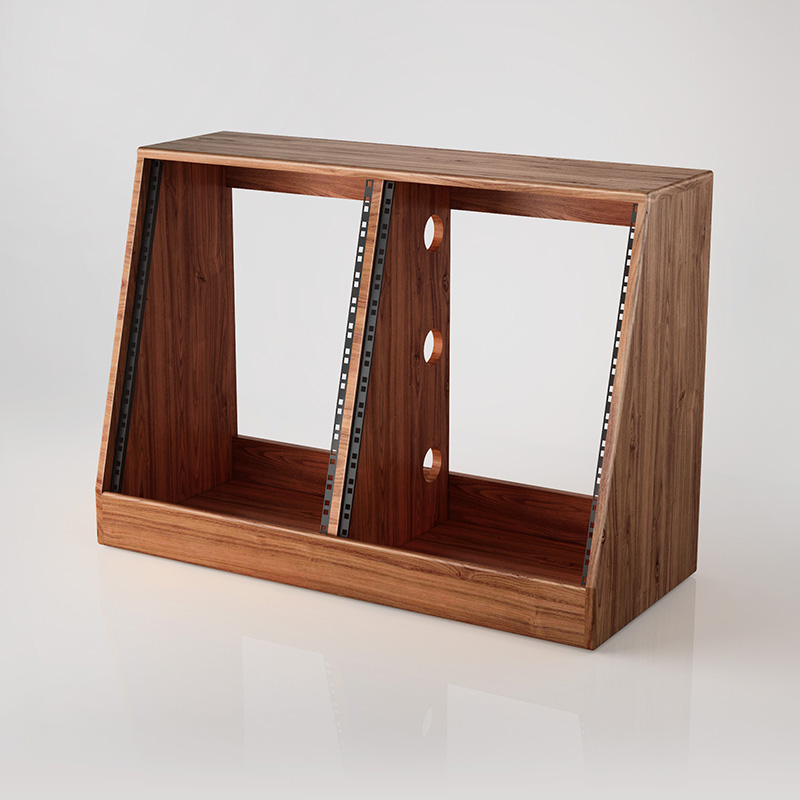
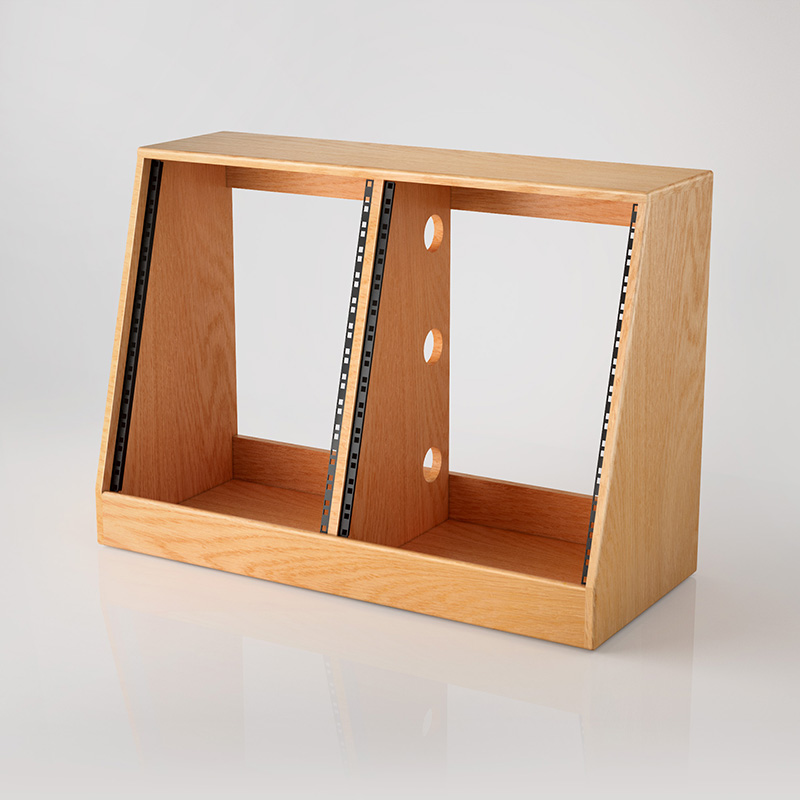
With the practicalities taken care of, you can begin to look at things from a more visual perspective. While you could employ industrial-looking old metal cabinets or hard-shell cases, surely your studio deserves better than that. Studio Racks works only with wood, and with only the finest woods at that. This serves two purposes. Wood has benefits from an acoustic perspective, allowing sound to bounce more freely around your studio, but it is also more durable and sustainable in the long term. You’re unlikely to bend a piece of wood struggling to get a tricky rack unit out, that’s for sure. Plus, there’s something visually pleasing about a specialist, expertly crafted wooden unit that shouldn’t be overlooked, right?

Unique cases
As well as off-the-shelf (so to speak) solutions, there’s always the option of having a custom-built studio rack created specifically for you and your studio. It may be that you have this one cubby hole, with the right dimensions and practical benefits, that would make a perfect home for your studio rack. We specialise in these situations, and will happily take on the challenge of creating the perfect, bespoke 19” rack your studio needs.
Conclusion
Deciding to move to dedicated rack units in your studio is a serious consideration, but in the long run, it almost always proves to have been the right one. With the right studio racking system, you can upgrade your setup in ways that simply aren’t possible using desktop gear.
